
I have started a new Youtube channel for tutorials and tips related to photography. I’ve made this video to explain how to get the ”futuristic scifi cyberpunk” look on Adobe Lightroom:
Enter your email below to get my cyberpunk preset pack for free:
Hope the above video explains it well enough. Here are some additional tips:
As with any edit, a preset is only a starting point. In order to really get the look down, you must be able to adjust the settings according to each picture. This comes with practice, once you have a good understanding of how lightroom works and what exactly you want the end result to be, that makes things easier.
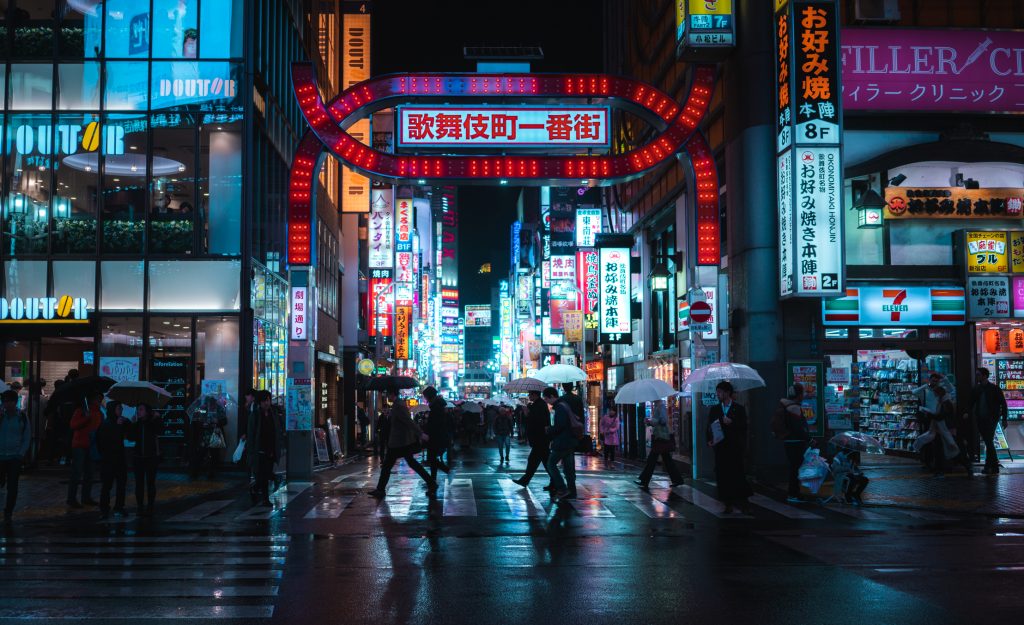
In order to edit a good ”cyberpunk” style photo, you should first start with a photo that has the potential to have the look. I sometimes see people who are perhaps trying to follow a fad or maybe just experimenting try to apply the effect on an ordinary photo, and usually it just doesn’t work. At minimum, try to have some futuristic elements in the photo.
Another way to edit this style is by split toning, but you should be careful not to overdo it. Split toning adds color to the whole image, which is why I prefer to adjust the temperature and HSL instead. Sometimes however, depending on the style of the picture, split toning may even work better. As always, experiment.
Some key elements of this aesthetic are things such as neon lights, rain, reflections, dystopian or futuristic looking architecture, smoke or steam, and anything futuristic. The more you can add, the better!
In order to maintain realism, try to avoid overcoloring things such as people. If everyone’s skin color turns blue, that can easily suspend realism. It’s a good idea to use spot edits to try to avoid this from happening.