
The famous quote by Chase Jarvis goes “The best camera is the one that’s with you” is almost cliche now, but that doesn’t make it any less true. Everyone has a phone camera these days, but there is more to phone photography than simply pointing and shooting. Ever since I learned how to shoot with a proper manual SLR system, the quality of my cellphone shots has drastically improved as well.
It helps if you know anything about photographic theory, but even if you don’t, I’m going to attempt to explain the basics really quickly. The theory is less complicated than you’d think. If you already know what ISO and shutter speeds do, feel free to skip ahead.
Understanding the settings
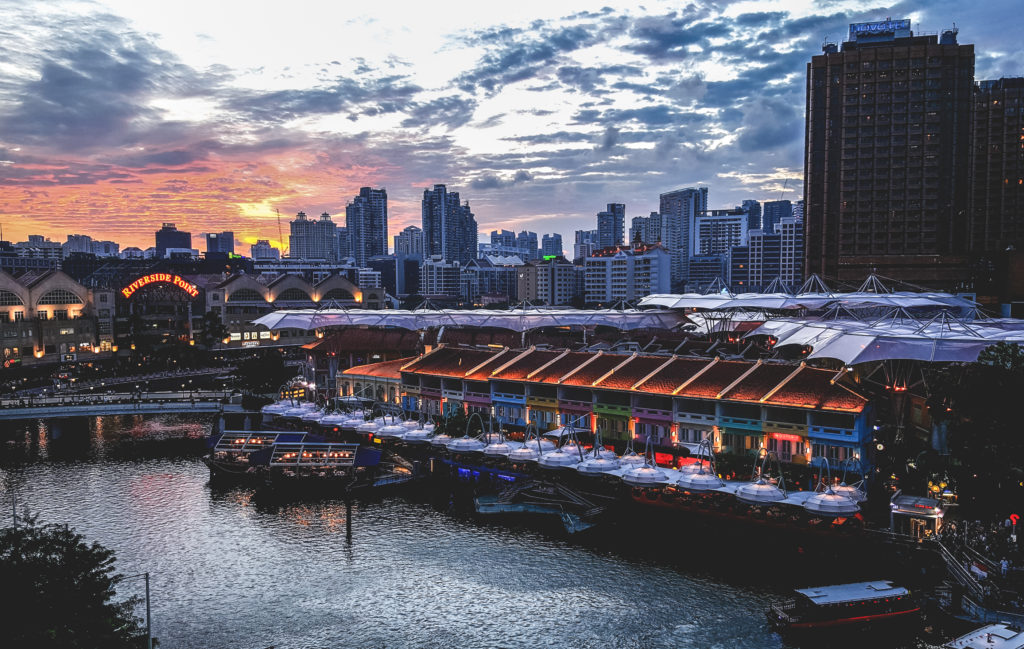
Clarke Quay, Singapore on Galaxy s6. Edited on mobile Lightroom.
Usually, especially at night, if you want to get the most out of your phone’s camera, you need to be able to use the manual camera mode. On Android, the native camera app already has a “manual” or “pro” setting built in. On iPhones, I believe you might need to download an app.
If your phone allows it, you should change the file type to RAW if possible, especially for night shots. This filetype is bigger, but it allows you to retain more information than shooting normal JPEGs. This will be of use later when editing your shots.
Phone cameras don’t yet allow you to adjust the lens aperture, so you’ll have one less thing to worry about. That leaves you with shutter speed, ISO and white balance.
White Balance (WB)
You may not necessarily need to touch WB as the temperature of your photos can be changed later, but it’s something you can adjust if needed. Usually, it’s on auto setting by default, but if your photos seem either too warm (red) or too cold (blue), you can manually adjust the setting to your liking.
ISO
Lower ISO number means less light comes in, BUT your photos have less noise. This means that for the maximum quality images, you should always use the lowest ISO setting possible, without making the image too underexposed or dark.
Shutter Speed
The most complicated setting to understand, at least for me, was shutter speed. This setting determines the time your shutter stays open. During the time your camera’s shutter is open, all movement is recorded and then combined into one image. The longer your shutter stays open, the more light is let in as well. If you want to freeze a quick moment in time, you need to use a fast shutter speed, such as 1/1000 of a second. However, in that 1/1000 of a second, not a lot of light has time to be let in, so this speed is only usable during daytime, even with a high ISO setting.
To let in more light or to create a blurry effect, you need to use a slower shutter speed. There is a point where the shutter becomes slow enough to capture the movement of the camera itself however, at which point you can no longer shoot handheld. For me, that tends to be around 1/50s.
Composition
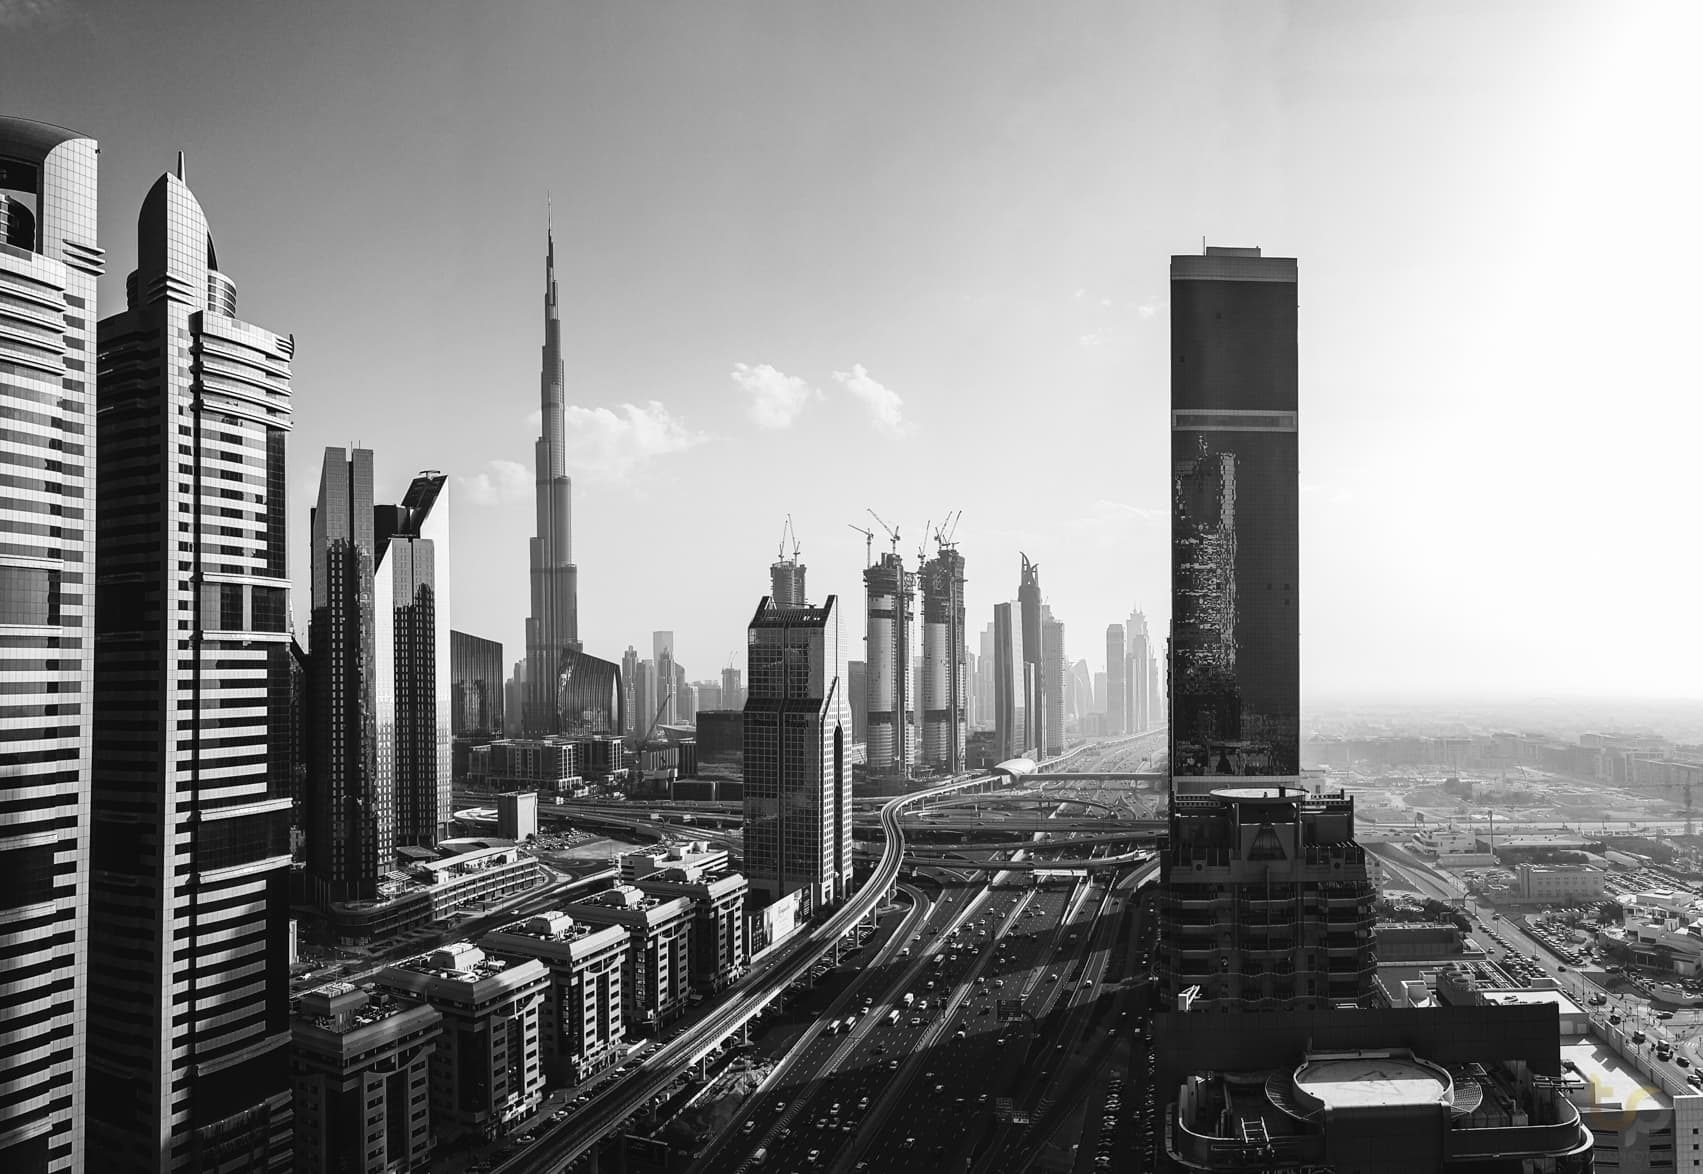
Dubai with Galaxy s6 Edge
The hardest concept to teach, composition tends to be more about intuition and experience as opposed to simply reading a book. There are a few simple rules or suggestions though;
- Think about the image you’re taking. Move around a bit before pressing the shutter button. Are you at the optimal viewpoint, capturing the best angle?
- Straighten the horizon so you don’t have to fix it later and lose details. The world is not tilted!
- Isolate the point of interest. Often in photography, less is more. Anything that doesn’t add interest or beauty to your photo generally should not be there.
- Rule of thirds. Don’t always place your subject in the middle, but imagine your frame has been divided into a 3×3 selection of boxes. Place your subject in the conjunction of these lines.
Shooting in low light

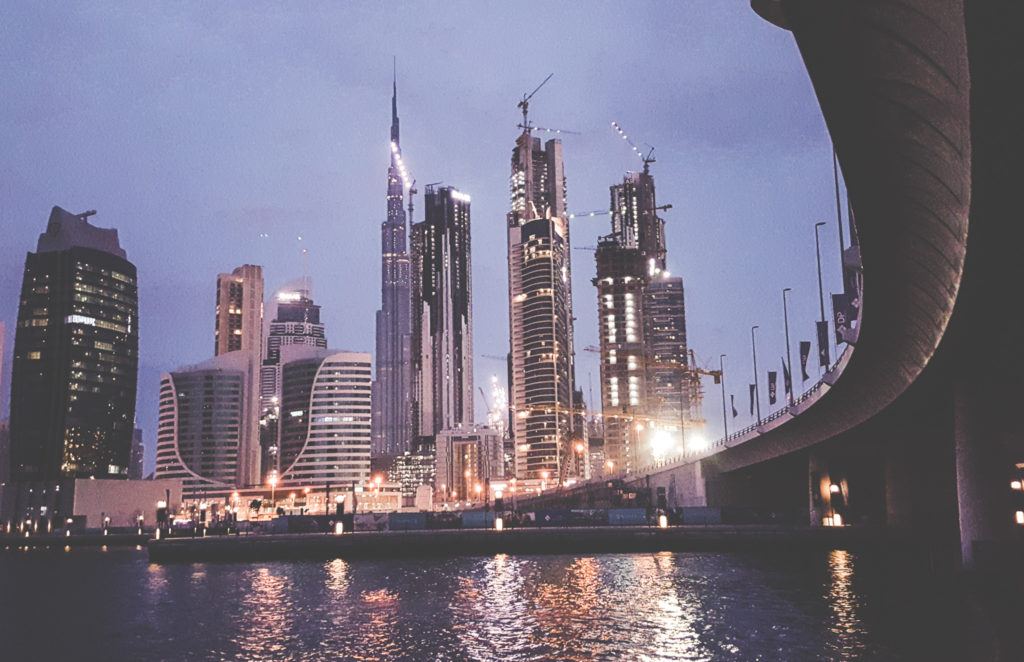
Galaxy s6 edge, 4s, ISO 50 (f1.9) – and yeah it’s slightly crooked!
Android users are at an advantage when it comes to night time photography. For some silly reason, Apple doesn’t allow a shutter speed lower than 0.5s. On Android phones however, you can go as long as you want.
To capture a high quality nighttime image, you need a way to stabilize your phone for the time the shutter stays open. This would be a tripod, whether a real one meant for cellphones or a makeshift one, such as your wallet. What I often do is use my wallet as a stabilizer to lay my phone against.
Setting a proper exposure is easiest when your camera app has a lightmeter, but many don’t. On my Samsung s6 edge for example, I have to guess.
Start with setting your ISO to about 50 or 100. Then, try setting a 2s shutter speed (or 0.5s on iPhone…). Find a surface where you can place your phone and tripod, set your manual settings, and a self timer of 2-5 seconds to avoid further shake. Take a photo and see if it was too light, too dark or just right. Adjust your ISO and shutter speed accordingly, optionally play with the white balance as well.
Play around with your settings until you have managed to capture a properly exposed image.
I do recommend getting one of those compact mobile tripods. I got one for $2 in shop called Miniso, found in East Asian cities – these tripods are not expensive, and it’s too easy to accidentally drop your phone using the “wallet-tripod” method.
Lens Accessories
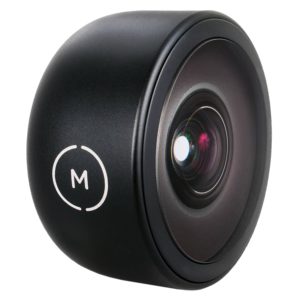 If you are not happy with the field of view, there are options to make it wider or thinner. For example, Moment makes great high quality phone lenses. In my opinion, the wide angle lenses are especially worth it, but it’s a lot more difficult to take great portraits with a phone, so the advertised “portrait” lenses are kind of redundant, better used for telephoto landscapes. Either way, they are available for experimentation. Keep in mind that if you buy a low quality lens, you will lose some of your cameras quality, so it might make sense to invest a few bucks in these.
Moment lenses are available on Amazon.
Editing
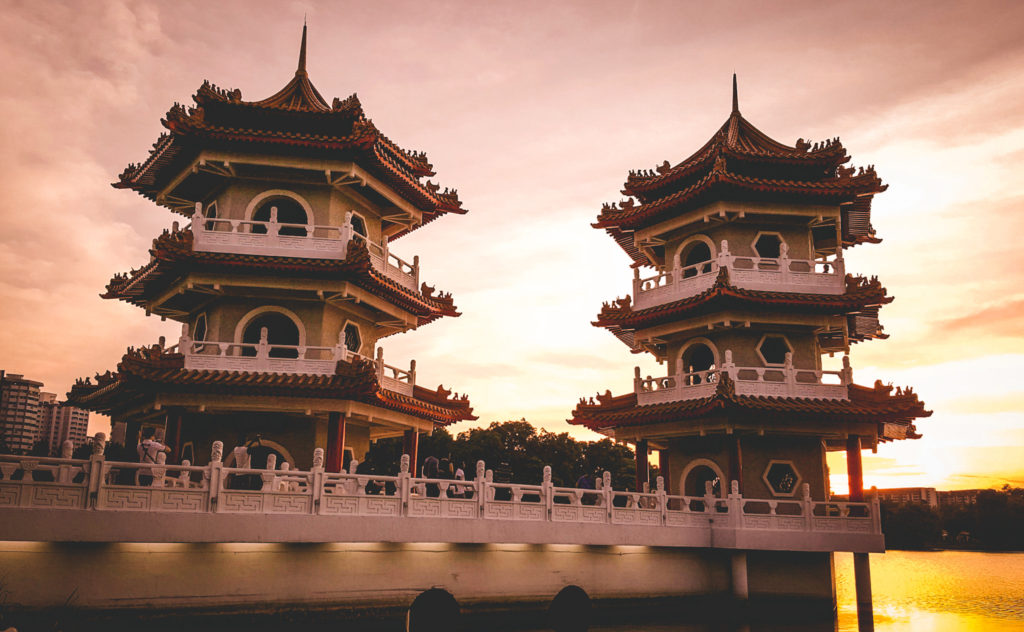
Singapore sunset, Galaxy s6 edge
Photography does NOT end after you’ve taken the image, that is the great secret of serious photographers and professionals alike. Especially in cellphone photography, where the out-of-camera quality is a lot lower than a DSLR, editing can make a huge difference.
The best app for editing photos like a professional is Adobe Lightroom, free for both Android and iOS.
With this app, you can do many things. Editing photos is something that can take a while to master, but the basics are fairly easy to learn.
First, I usually start by cropping, straightening the horizon and eliminating stuff that doesn’t add anything to the image. Then I will correct the temperature and exposure. I prefer a slightly blue-ish tint in night time images, but white balance is the first setting that gives you some artistic control.
Next up, there is the clarity slider. This can make your photos look a lot more crips and clear, but be careful not to overdo it.
Saturation and vibrance can add and remove color from your images.
Tone curves can be used to add contrast or to create a film look. Raise the left end of the curve to create the famous “crushed blacks” Instagram look.
Vignetting can add some atmosphere and focus to your images.
The easiest way to learn how to use the app is to experiment with all the sliders.
Is a phone good enough?
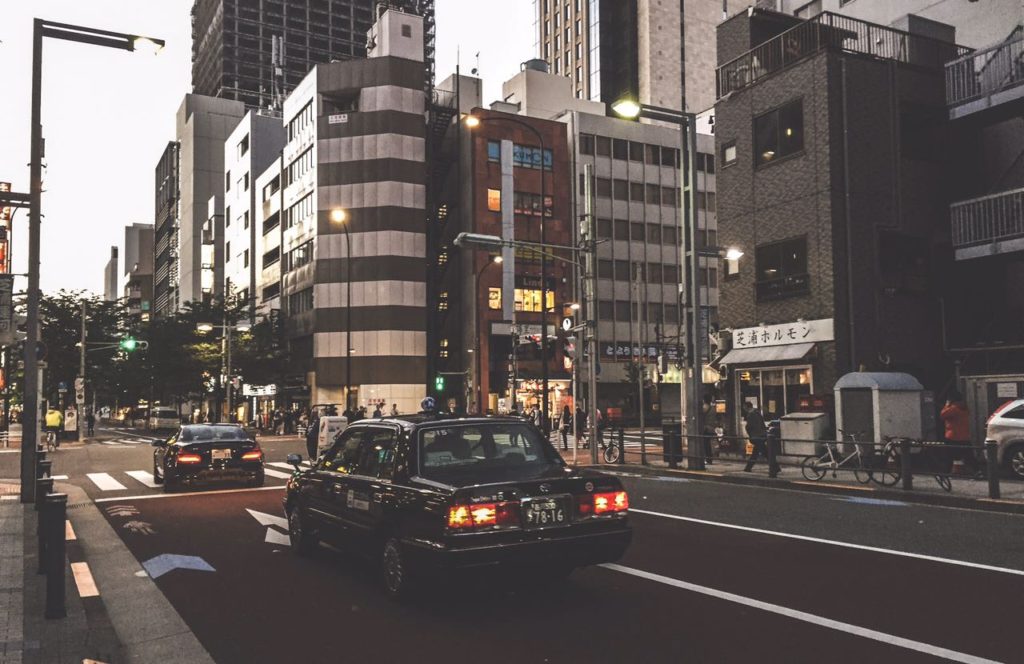
Tokyo streets, iphone 6
In my opinion, good gear is still necessary to produce truly great images. Each year that passes, phones get better, but it’s still gonna be quite long until phone cameras can match 2010 dslr quality. However, for minimalistic people, hobbyist and those that only publish digitally for mobile, then a phone can be all one needs. Either way, a phone is your backup camera, so it can be good to learn how to use it. I like the shots I take on my phone – until I open them up on a bigger computer screen.