
Soon after I discovered the timelapse-function of my Olympus, I became obsessed with creating these types of movies. Mostly because they often look a lot more amazing than a regular photograph. It took some trial and error to do it right. After about 6 months of shooting timelapses, here is my simple tutorial to anyone who wants to learn how to do it.
This tutorial doesn’t go into advanced techniques, just the basics to help you get started. All you need is a camera and a tripod.
Step One: The Timelapse Setting
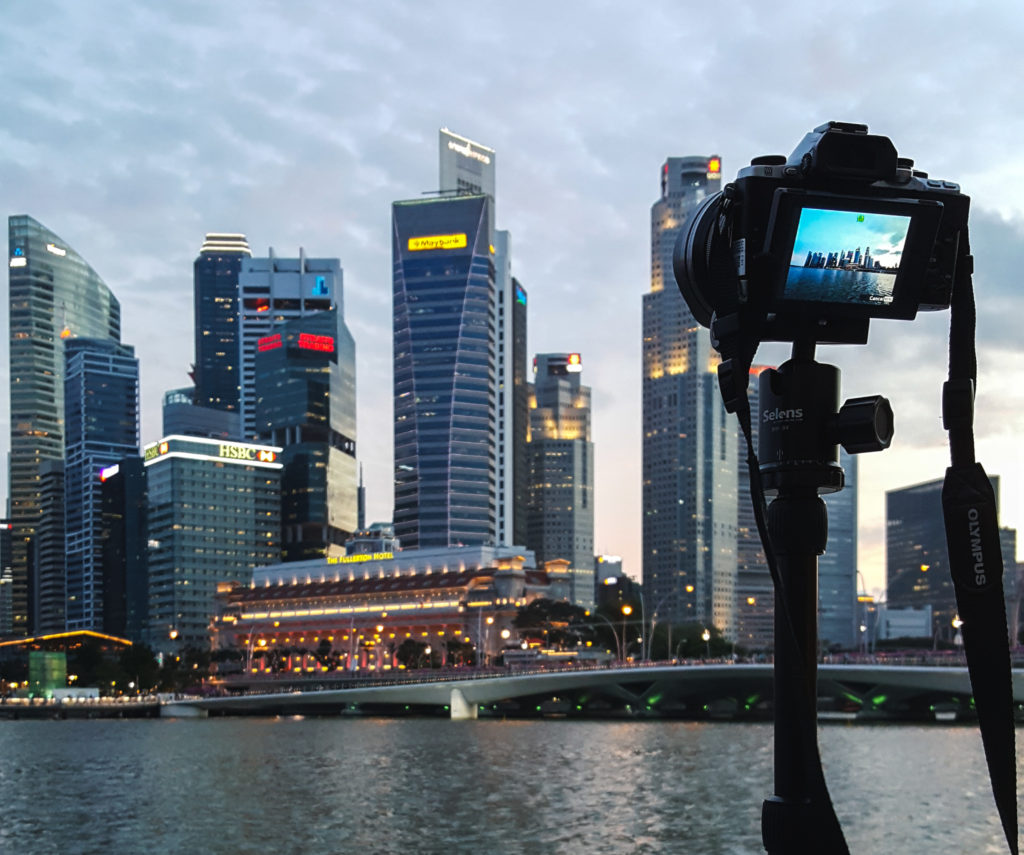
Camera with timelapse app and tripod: check
If you own a modern camera body, chances are you will already have a timelapse setting or app built-in to your camera, so you don’t need to buy an intervalometer. If you own an older DSLR, then that is what you need to first purchase.
It’s important to use the right settings for a scene at hand. This will take some trial and error, and if you like doing math, that will be a benefit.
First, some simple math. If your movie is going to be played at the standard 25 fps, then naturally every 25 images you add is going to extend your playback time by exactly one second. If you’re recording a simple scene with no change in light, the interval you set almost doesn’t matter. But if you’re recording a sunset timelapse, you need to consider that a sunset takes about an hour. If you want to make a 6 second movie of a sunset that takes one hour, you’d need to record 25×6= 150 images in that one hour. So be sure to set your interval times accordingly.
To be honest, I dislike doing math with a passion, so I never do more than a basic calculation. It is not necessary in most cases. Especially since your exposure time is going to change as the light is going away. It’s good to understand just in case though.
More importantly, it’s time to choose a fitting camera setting for your shoot.
Aperture Priority Mode
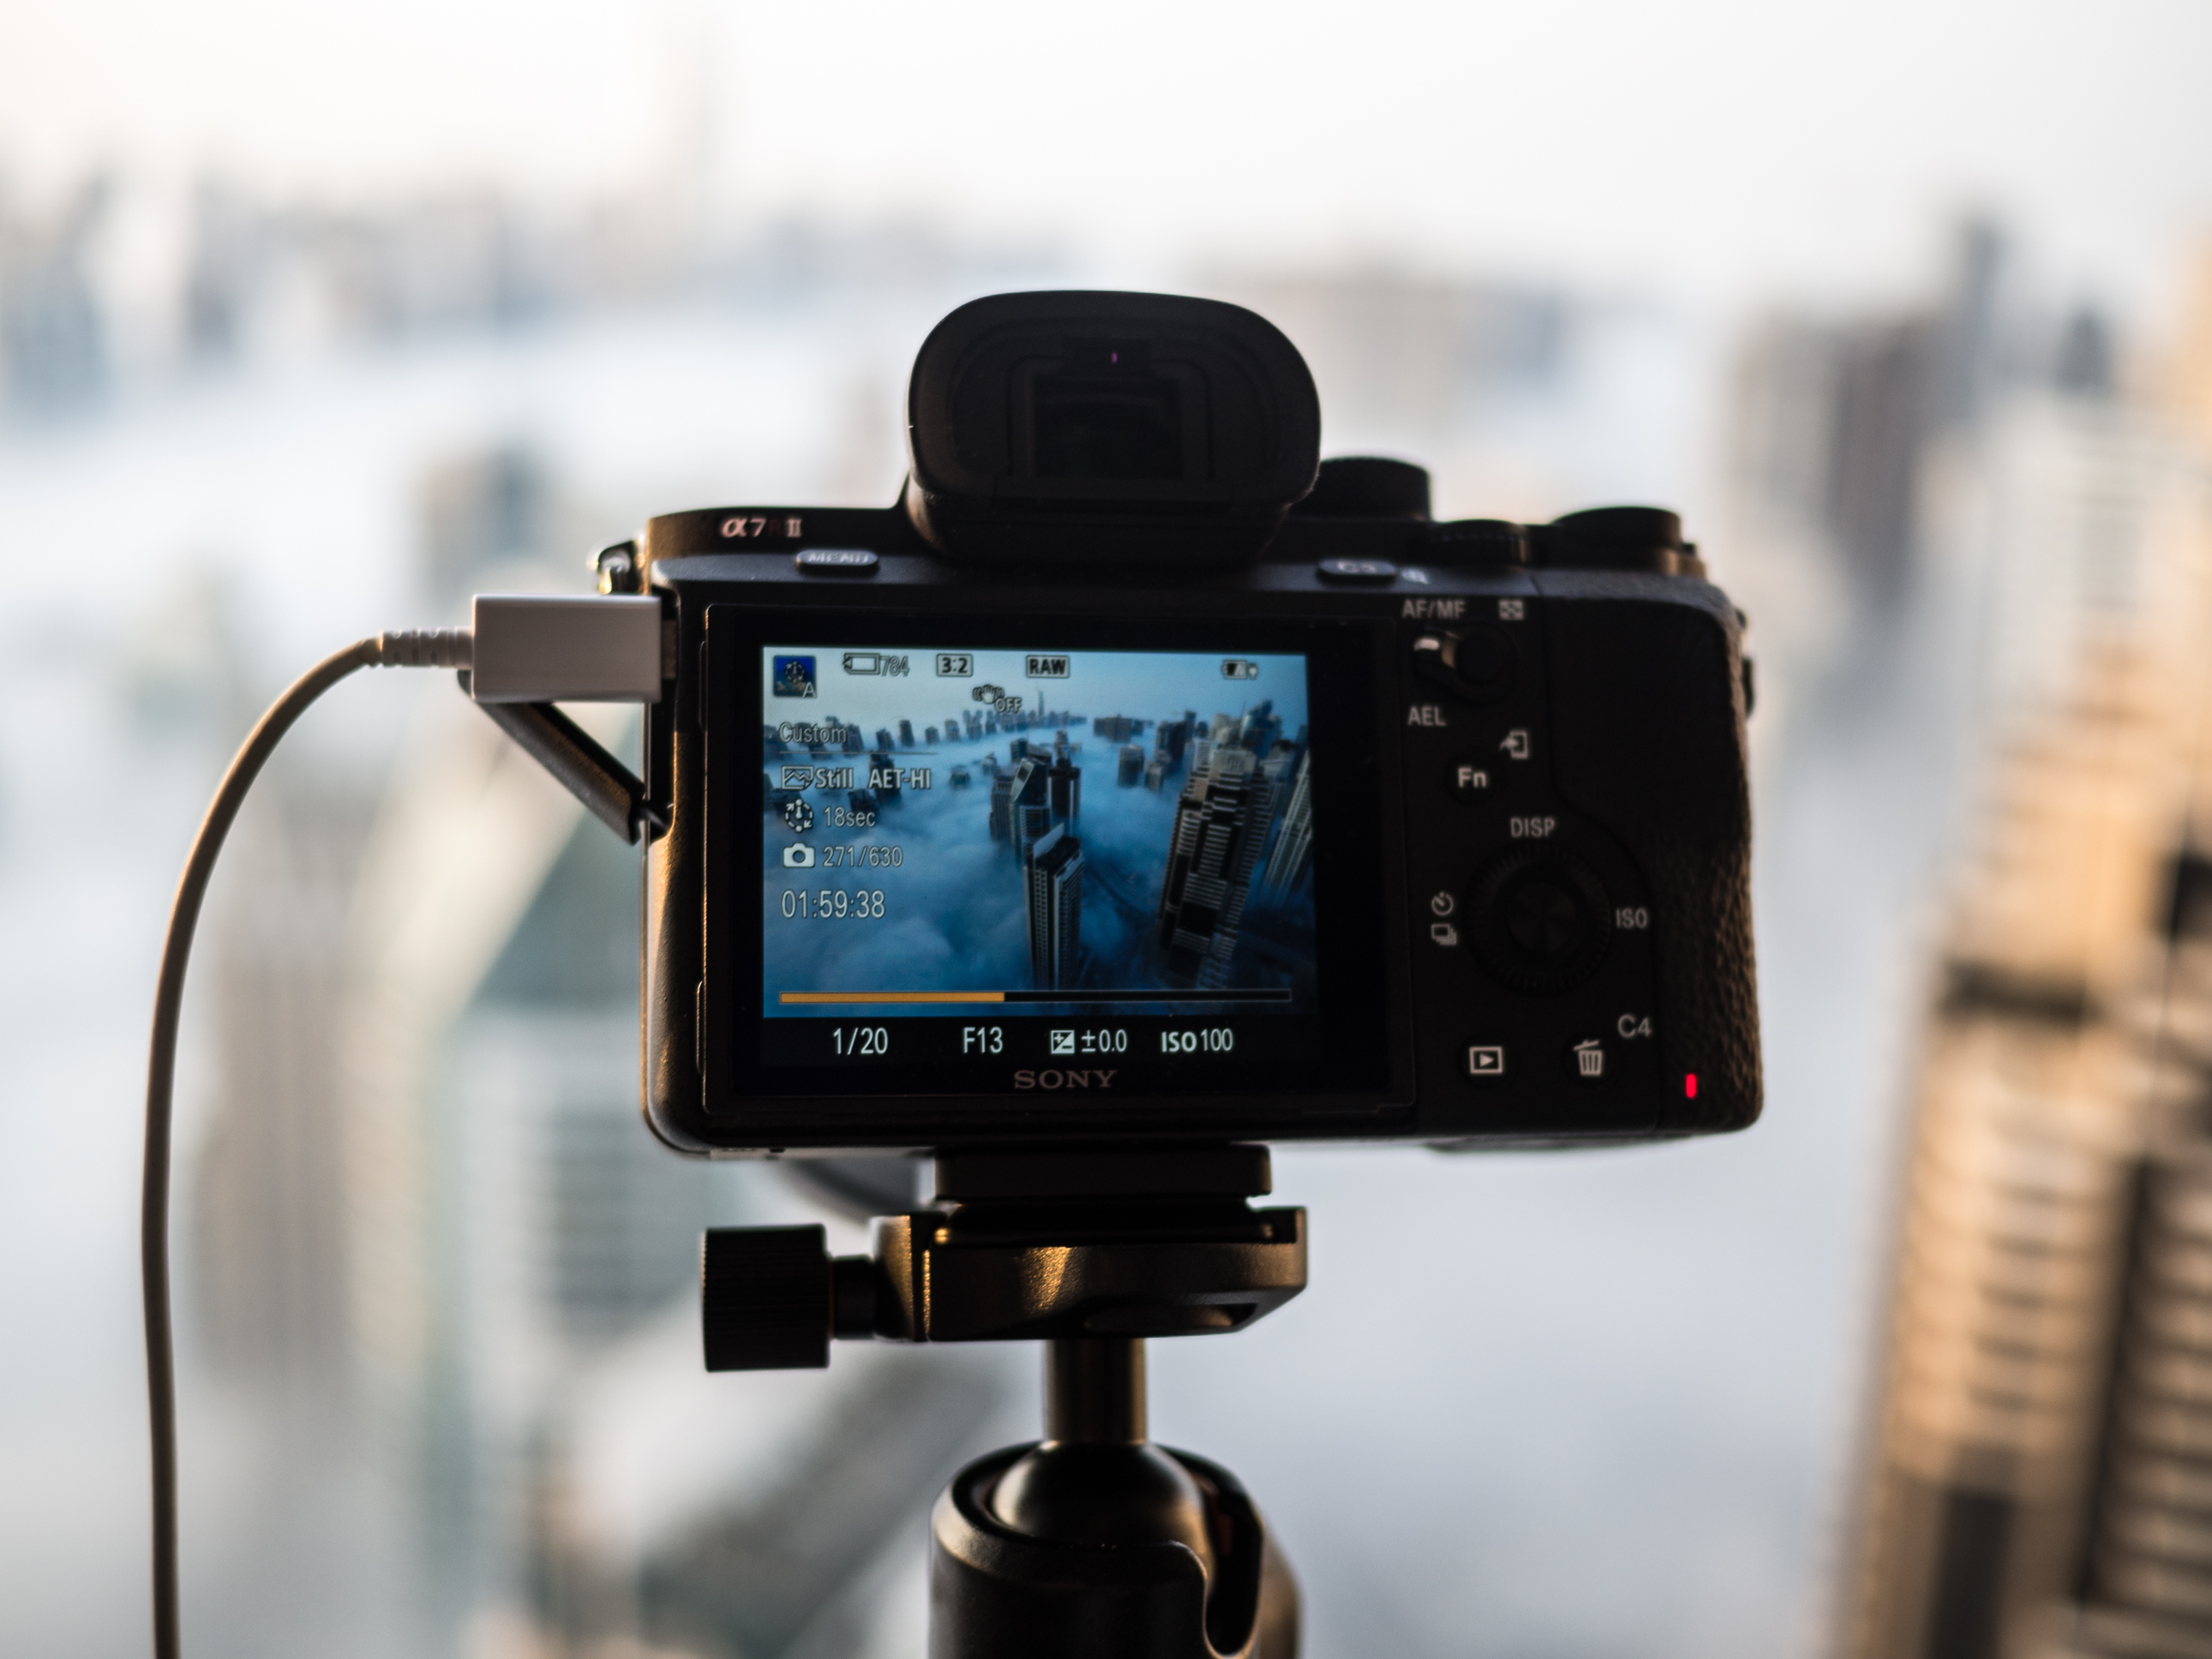
Shooting with Sony A7R ii timelapse app
My preferred setting for shooting sunsets is the A-mode, which stands for aperture priority. You set your preferred aperture, then your camera will choose a suitable shutter speed based on the light remaining. You can choose to under- or overexpose with exposure compensation, which is useful in order to prevent blowing out the highlights or to keep the shutter speed short or long enough, depending on what you wish to achieve. If you trust your camera, you could also choose auto-ISO.
A-mode will result in sunsets that increase in speed as the light goes down, as the required exposure time will increase. The opposite will happen for sunrises. Experiment to find the right middle-ground. If you prefer a more constant progression, shoot in shutter priority instead.
Shutter Priority Mode
If the scene requires a smooth progression of time in changing light, I will tend to favor the S-Mode, usually with auto-ISO as well. Especially when shooting on my full-frame camera. The ultimate quality will be lower, as your camera will choose a wide aperture and higher ISOs at some points of a changing light sequence, but with a great camera and lens combo, you can hardly tell. It’s easy to overexpose a sunrise shoot in S-mode, so bring an ND filter.
Manual Mode
Some like to shoot timelapses in full manual, even in changing light. This requires you to adjust settings constantly, which also risks moving the camera. Get a steady tripod to minimize this if you wish to shoot in manual. The pro is ultimate control over your exposure, the con is that you have to stare at your exposure for the whole sequence, sometimes for hours, which is boring as hell. I only shoot in full manual when there is minimal changing light during, but never during a holy-grail (sunset/sunrise) sequence.
If there is no noticeable changing light, then the safest way is to shoot in manual mode. You obviously won’t need to adjust exposure if the light doesn’t change.
Ways you can %^&* it up
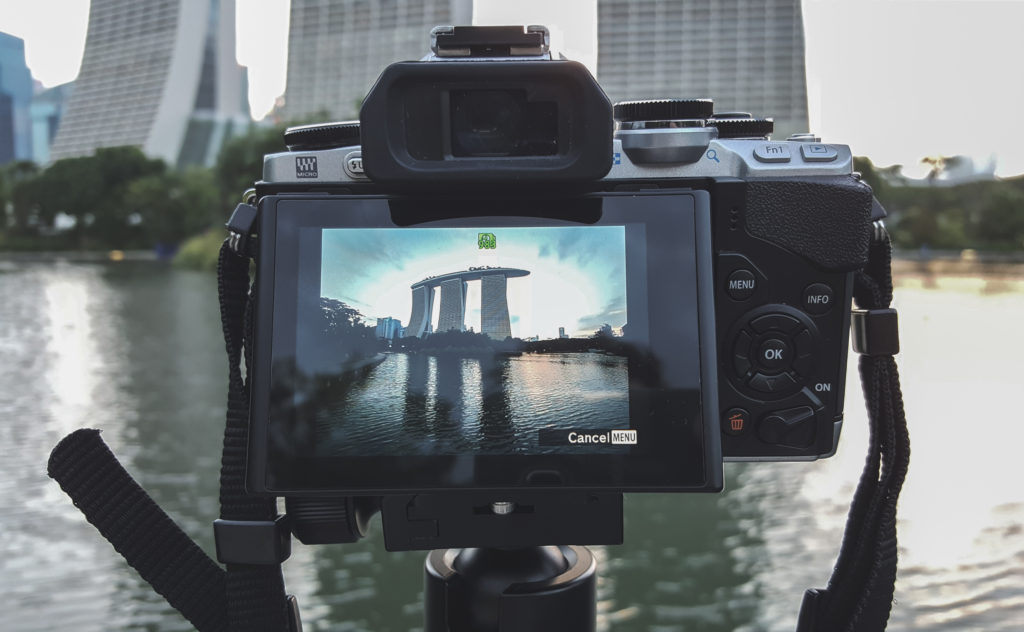
The Olympus timelapse app is simple and easy-to-use. But don’t forget to use manual focus.
Timelapsing takes a lot more trial-and-error to get started in than normal photography, mainly because one sequence takes a long time to shoot and edit, so it takes longer to learn from your mistakes. Always set manual focus first before starting the sequence. Also remember to set your camera to actually record images, not just a video. Below are other mistakes to avoid, all of which I’ve made at least once!
- Forgetting to manually focus and/or not double checking sharpness
- Shooting on a card that doesn’t have enough space for your whole sequence
- Forgetting a lens hood in light rain, getting raindrops all over your lens
- Composing badly, panicking midway through to change composition and not getting enough shots for a long enough movie
- Running out of battery mid way through
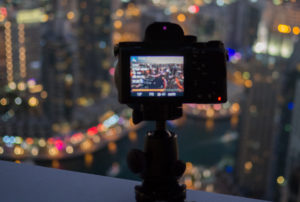
- Beginning your sequence too early or too late when shooting sunrise/sunset
- Moving your tripod
The Final Step – Editing
Do yourself a favor and shoot your scenes in RAW. I edit my sequences in Lightroom with the awesome LRTimelapse software/plugin. If you don’t edit your timelapses, they will be boring in color and flickery, which makes them nauseating to watch. It’s mindblowing how many otherwise great photographers don’t know how to deflicker their timelapses if I’m being honest. Especially since software like LRTimelapse makes it so easy.
The way the software works is you set a few “keyframes” at key points in your sequence. You edit those keyframes individually in lightroom to look great, just like you would edit a normal image. The software will then do the rest by editing and syncing all the images in between. The result is a beautifully fluid, deflickered sequence. Read more at LRTimelapse’s official site.
If your tripod moved, there are ways you can stabilize your footage in post. Personally, I’ve always found Adobe After Effect’s “Warp Stabilizer” function to be a good fix. You process your shaky scene normally into a movie, then run it through AE’s stabilization. Most times, that is all one needs to do!
Thanks for reading. Of course, if you have more questions, don’t hesitate to ask them below in the comment section!