
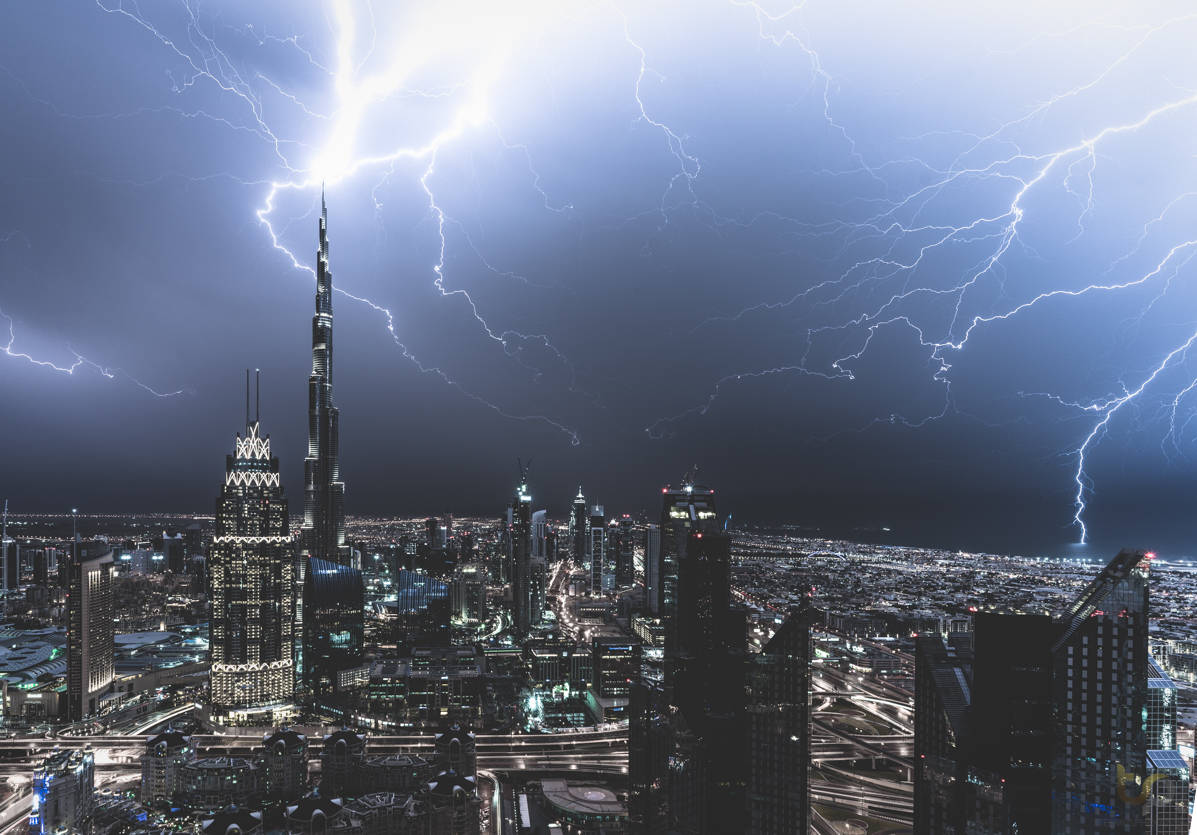
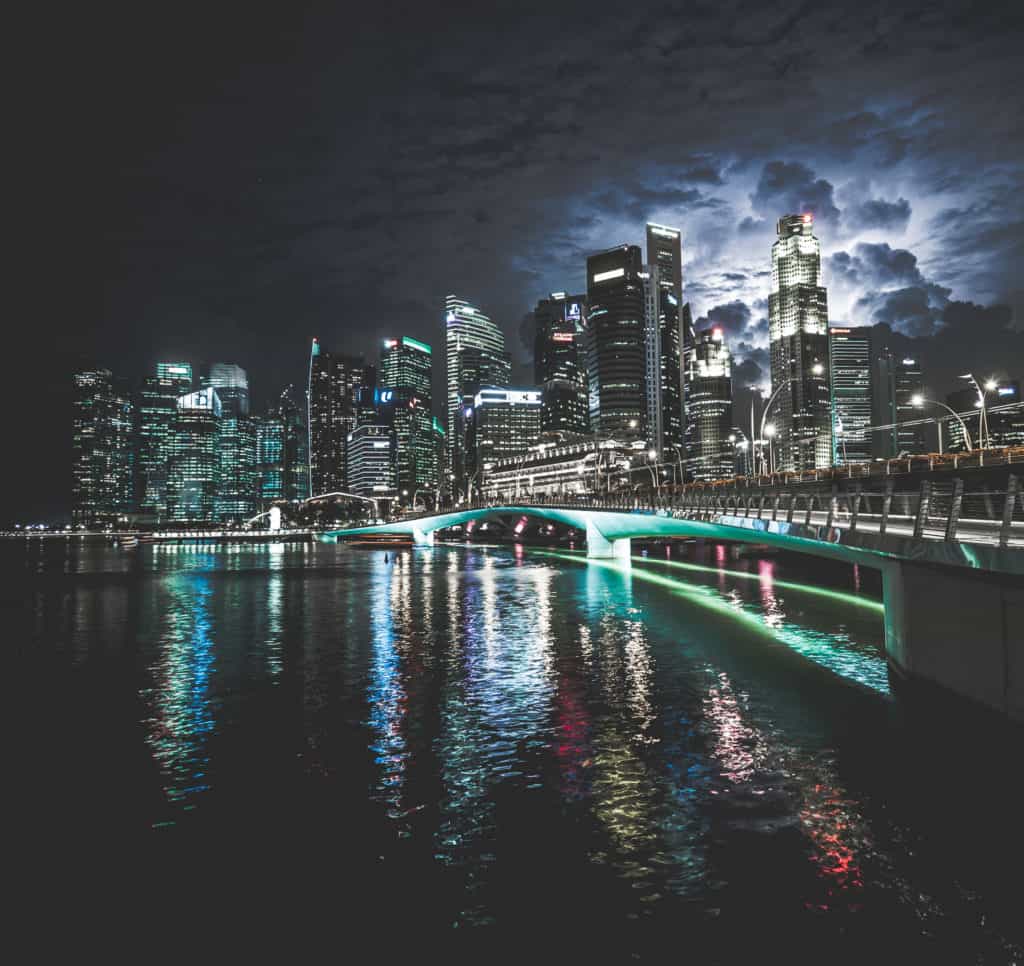
Stormscapes are some of my favorite type of photos, particularly when a storm happens over a city. They add an unique punch to an already beautiful composition, but pose a challenge to photograph. No storm is the same, and getting a successful shot requires a combination of careful planning, timing and luck.
Unfortunately I currently live in a city where a thunderstorm happens literally once or twice a year (Dubai), but in the future I hope to shoot even more storms. That said, here are some tips that I’ve learned in my attempts to capture stormy cityscapes so far.
Tip #1 – Don’t get struck by lightning

Storm chasing is a dangerous hobby, so it’s important to keep safe. A lightning can strike anywhere at any time. Getting struck by one is actually statistically more likely than winning the lottery. So it’s wise to avoid bodies of water, standing under tall trees for shelter or being close to anything that might be a particularly attractive point to lightning. If shooting in nature, stay in your car or shelter – if a lightning strikes your car, you’ll be safe inside. Read this page for more tips on your safety.
2. Plan the locations in advance
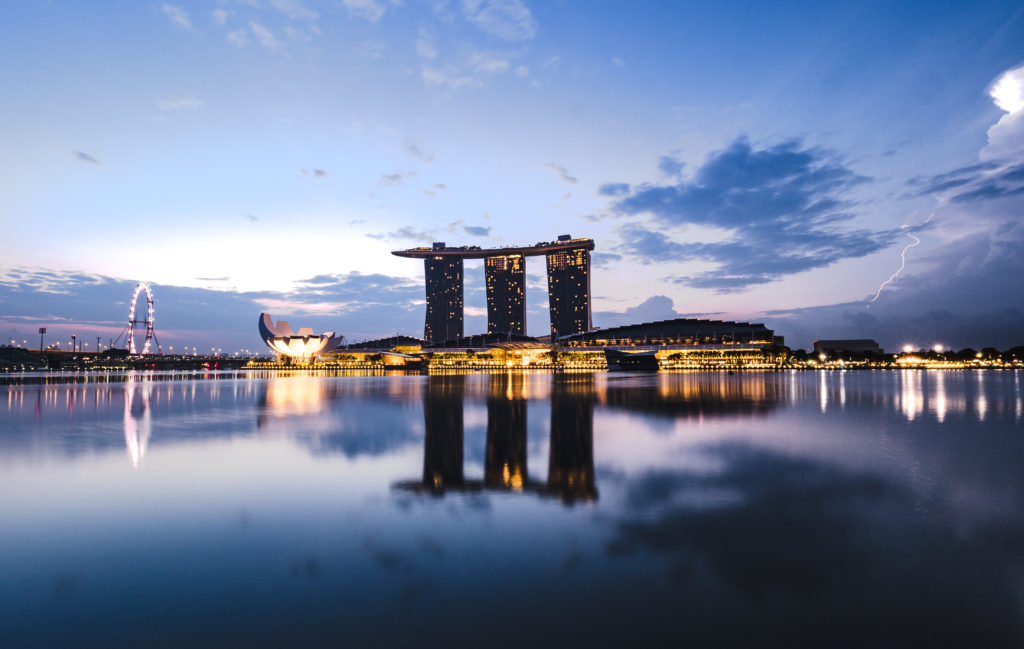
Often when I’m out shooting, I like to keep an eye open for possible locations that can offer both shelter and a great vantage point for shooting a storm when it happens. For example, the above photo is in front of a restaurant that opens at around 10am. It’s shot at sunrise time, so just a few feet from my camera, there was a shelter at the restaurants outside seating area, which I later utilized when the skies opened. To be honest, I should have been standing at the shelter the whole time for safety reasons, but this time I was too stupid to take my own advice.
On another occassion, I was shooting a storm under a bridge that offered a iconic vantage point, Busiess Bay in Dubai. I failed to get any shots that time, but without the bridge, I would have been completely exposed to the storm.
The best and coziest spots are balconies and inside windows. When shooting through a window, use a polarizer, a cloth and a wide aperture to reduce glare.
3. Weather services and storm maps
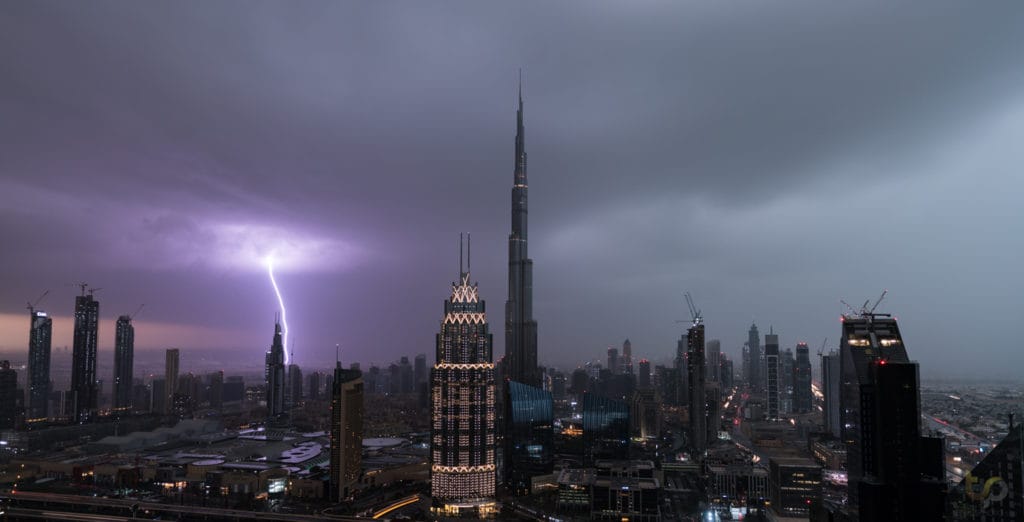
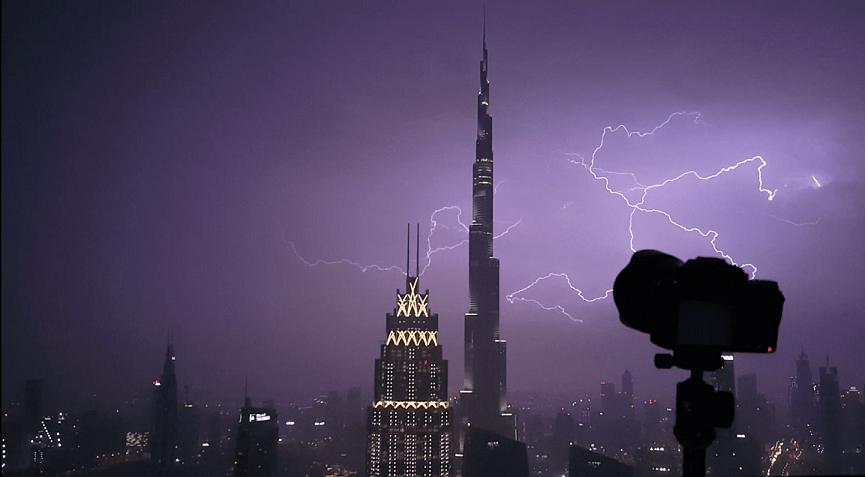
Dubai storm
I’ve become a big fan of Accuweather’s hourly forecast, they often get their guess just about right. Still, the best way is to pop your head out the window and observe the situation – a looming storm is often easy to sense. During my most recent shoot, I utilized Meteoblue’s weather maps to look for storms and the direction from which they were coming from. To get the best shots, you have to be facing the storm before it hits or passes by your vantage point.
4. Camera settings for lightning photography
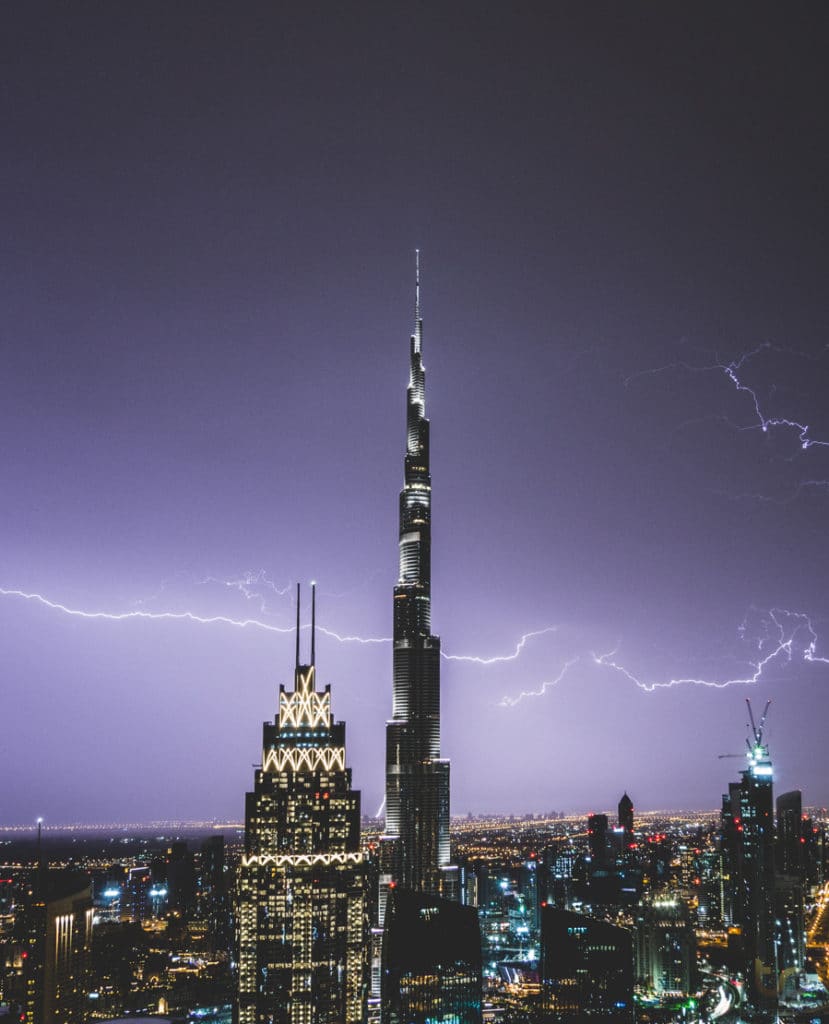
When I posted a lightning shot on Instagram and asked people to guess the camera settings, almost no-one realized that I was using a slow shutter speed. It may seem counter-intuitive, but a slow shutter speed makes capturing lightning much easier, because if a strike happens during any time that the shutter is open, it will be captured in some form. Personally, I found my sweet spot to be at 6-8 seconds, the lowest I would go is 1 second. Any faster than that, and you will only catch a part of the lightning unless the timing is absolutely perfect. The bigger the lightning, the easier it is to catch it with a slow shutter, whereas you might benefit from going a bit faster for smaller strikes. I recommend experimenting until you find your own preference. Don’t shoot too slow either, because then if the strike comes at wrong time of the shot, it might not be significant enough to be recorded.
5. Timelapse/burst mode is essential
Unless you literally have lightning reflexes, you cannot wait for lightning to come and then react to it. So that’s why it’s essential to continually keep shooting photos. The timelapse mode, built in to most modern cameras, is your best friend here. Sure, you’ll get a whole bunch of nothing shots that you can either later delete or use to combine into a timelapse clip, but this is the only way you can consistently get shots of lightning. I recommend using the shutter priority mode or full manual, although in changing light the A-mode is also an option. Read my timelapse guide here if you wish to learn more on the subject. Obviously, you’ll also need a tripod of some sort.
6. Bring an extra camera
Earlier I said that a faster shutter speed might make it easier to catch smaller, faster strikes of lightning whereas a longer one will catch big strikes more efficiently. That’s why you might want to bring two cameras to the same spot. There is also the factor that when using a long shutter speed, your camera will stop to process the image for noise reduction purposes, so you might miss out on a shot when only using one camera. Some cameras of course give you the option to disable the in-camera NR, which might also be wise in these situations.
7. ND Filters during daytime
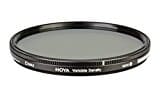 Storms can sometimes make daytime surprisingly dark, but you’ll probably still need an ND filter to keep the shutter speed slow enough to properly capture lightning during the daytime. Personally, I use a circular ND filter by Hoya. It’s a good brand, which is why I recommend them, just make sure to select the correct size for your lens before buying one. The number is often written on your lens and can be found by googling as well.
8. Bring a lens hood and protect your camera
A water resistant body and lens are very useful for this hobby, but if you don’t have those, at least bring a lens hood to avoid getting drops of rain on your lens. You could also use a casing to protect against damage. Personally, I’m thinking of buying the Panasonic GH5 body, which is splash-proof and apparently very durable. I will probably do so once my beaten up omd-em10 gives up – that thing doesn’t like water too much.
Hope you found these tips helpful. I absolutely love stormcapes, so if you’ve taken any good ones, share them in the comments below! 🙂