

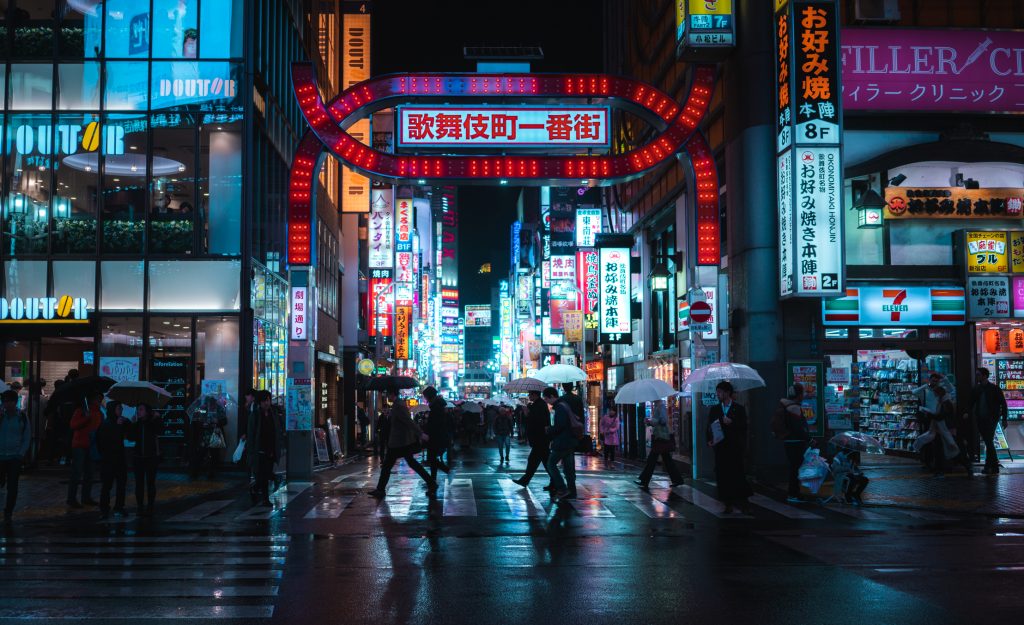
It took me some trial-and-error to figure out, so I want to share my method and tips for shooting good, high-quality photos at night time in a city like Tokyo that is dominated by bright neon lights. Other similar cities where this is helpful would be places like Hong Kong, Seoul, Osaka, etc. Needless to say, some of it is gear-related, shooting night-time with a phone or kit lens in a city with that requires lots of dynamic range can be more of a challenge. But whatever gear you’re using, these tips will help your shots if you’re having some trouble.
2019 Update: Also read How to take sharp photos at night
Behind the scenes of my Tokyo Street Photography
If you’d like to see how I personally shoot and approach Tokyo night photography, you might benefit from watching this video I uploaded recently:
Below are also some more technical tips to help you out.
Use the fastest lens and the best gear you have access to
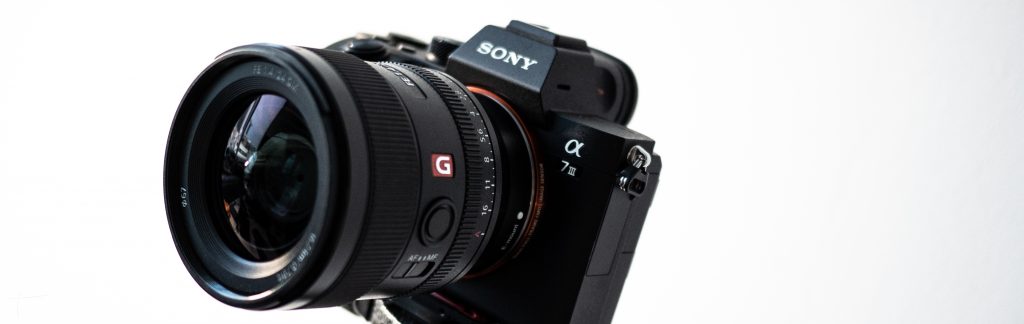
Anything slower than f2 – f2.8 is going to leave you at a big disadvantage if shooting handheld. This is why I prefer to use prime lenses. (See this for my full night photography gear list). When it’s really dark, it’s a good idea to always shoot wide open to allow the max amount of light into your shots. A full frame camera is also going to be quite helpful at night, because you’ll be able to use much higher ISOs.
Now obviously if you’re doing long-exposures, none of this matters as much. This is more relevant in handheld street photography and portraits.
You can still get away with shooting with a modern phone, it will just be a lot less forgiving and clunky, and you’ll have to know how to use it. Read this for a smartphone photography guide.
To learn more about night photography settings, check out this video I made:
A Lens-hood may help
Depending on your gear, you might want to consider using a lens hood to reduce flare from bright lights. The wider the angle you’re using, the more of a problem this tends to be. Especially on smaller sensor cameras, such as Micro Four-thirds, as due to crop factor wide angle lenses get almost fisheye-like, which tends to make flares worse.
Focus manually if necessary
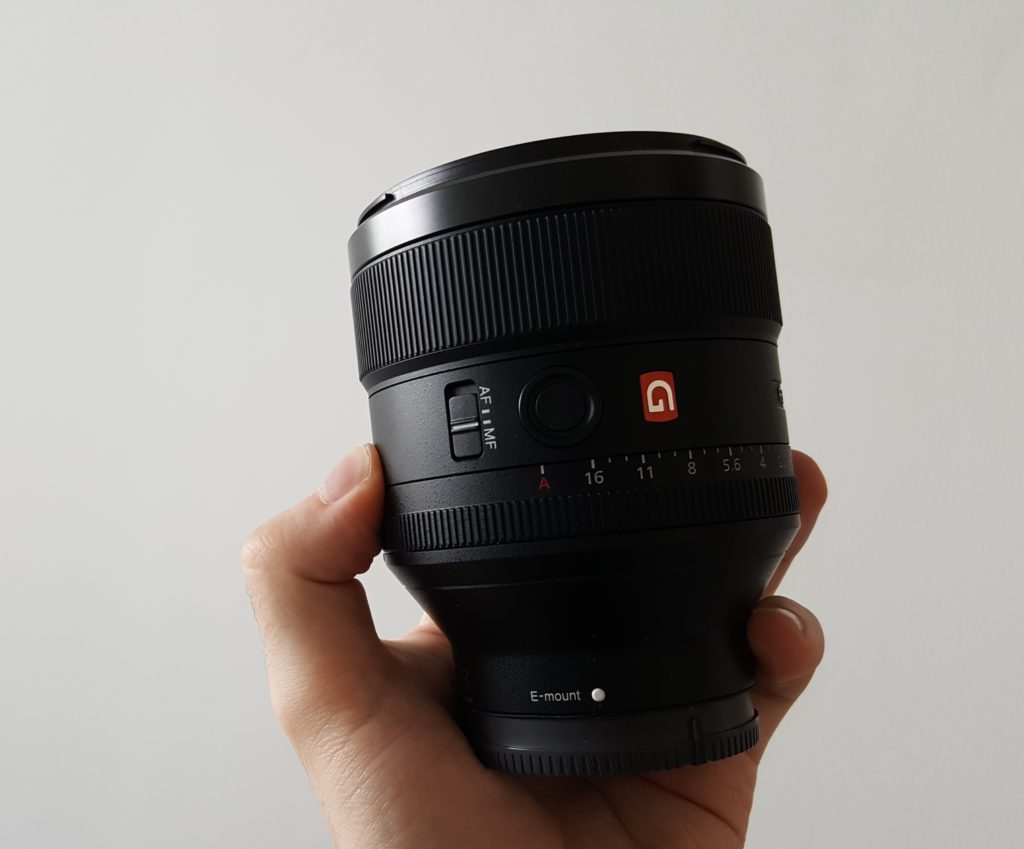
The Sony 85mm f1.4 GM lens has a very useful toggle to change between AF and MF quickly
All cameras and lenses have more trouble autofocusing if it’s darker. If you notice that your shots often turn out blurry, it’s a good idea to start using manual focus past a certain amount of light available. If you’re using a modern mirrorless camera, the focus peaking feature is very helpful, so be sure that you’ve turned it on in the settings!
Figure out the max ISO you’re comfortable with and adjust your settings
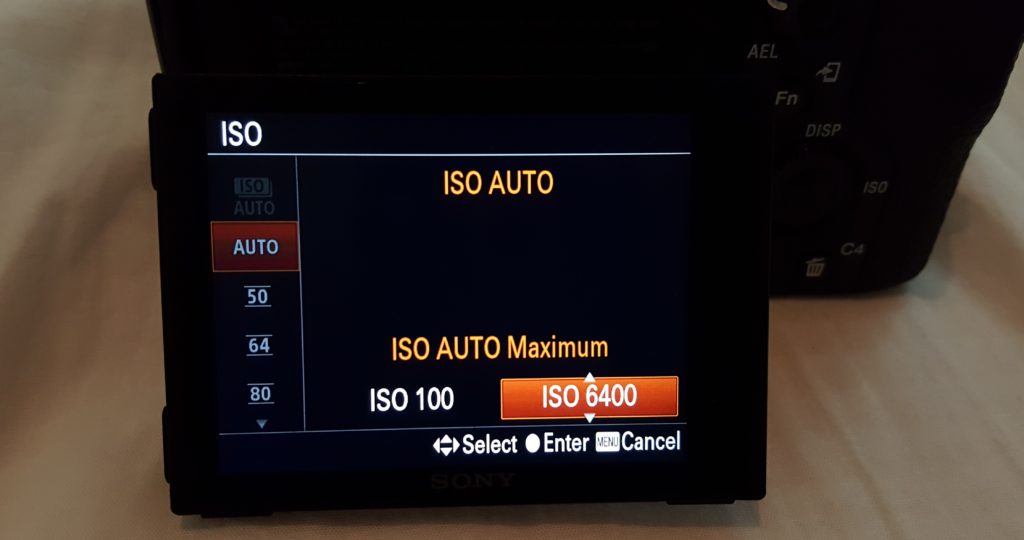
Tip: On sony A7, click right on this screen to adjust max ISO. Took me forever to figure it out personally.
On my A7iii, I usually leave Auto-ISO on. However sometimes the max auto-ISO setting of your camera may be set just a bit too high for your tastes, so it’s a good idea to test the setting manually, determine what is good enough for your standards, and then adjust the max ISO you’ll allow your camera to use.
Figure out the minimum shutter speed you’re comfortable with
I usually leave my camera on full manual except with auto-ISO enabled, so that I can quickly adjust the settings based on the scene at hand. It’s a good idea to figure out what is the lowest shutter speed you can use for each particular scenario, and then use exactly that. For me on my Sony mirrorless, these are my reference points:
- General street shooting of people – 1/100s
- Cars passing – 1/200 to 1/500
- Scene from up high/wide angle and/or with not much movement – 1/20s
Under-expose to preserve highlights
The more highlight-shadow contrast there is, or in other words, the higher dynamic ranger that I need, the more I will under-expose the shots. Usually, I have it set at -1 stops, adjusting from -0.7 to -2.0 as needed. It’s helpful if your camera has an exposure-compensation adjustment button built in the hardware, but this setting can otherwise found in the menu. Obviously, it can also be done completely manually, if you’re using full manual, including manual ISO.
HDR is an option
If you’re shooting with a tripod, then the obvious solution is to take multiple exposures in the same spot, then blend them together so that you’ll preserve both the shadows and the highlights. As long as you don’t overdo it, no one will notice! It must be noted though that this is much more difficult to do for street shots, which is why I almost never do it.
Edit your images
In night photography, your goal is to capture files that can later be edited into their final form. This often is a completely different thing than trying to get a nice looking shot directly in-camera. As said earlier, usually cameras preserve shadows somewhat better than highlights, so at night you are better off shooting somewhat underexposed images in RAW format (don’t shoot jpegs – if you do, then just expose them normally).
I have some of my night photography presets available for free on this website, you can find the link on the homepage here or just by looking at the sidebar to the right.
I also have a couple of editing tutorials on Youtube. In order to get an exact idea on how I personally like to edit my night photography, take a look at this video below: